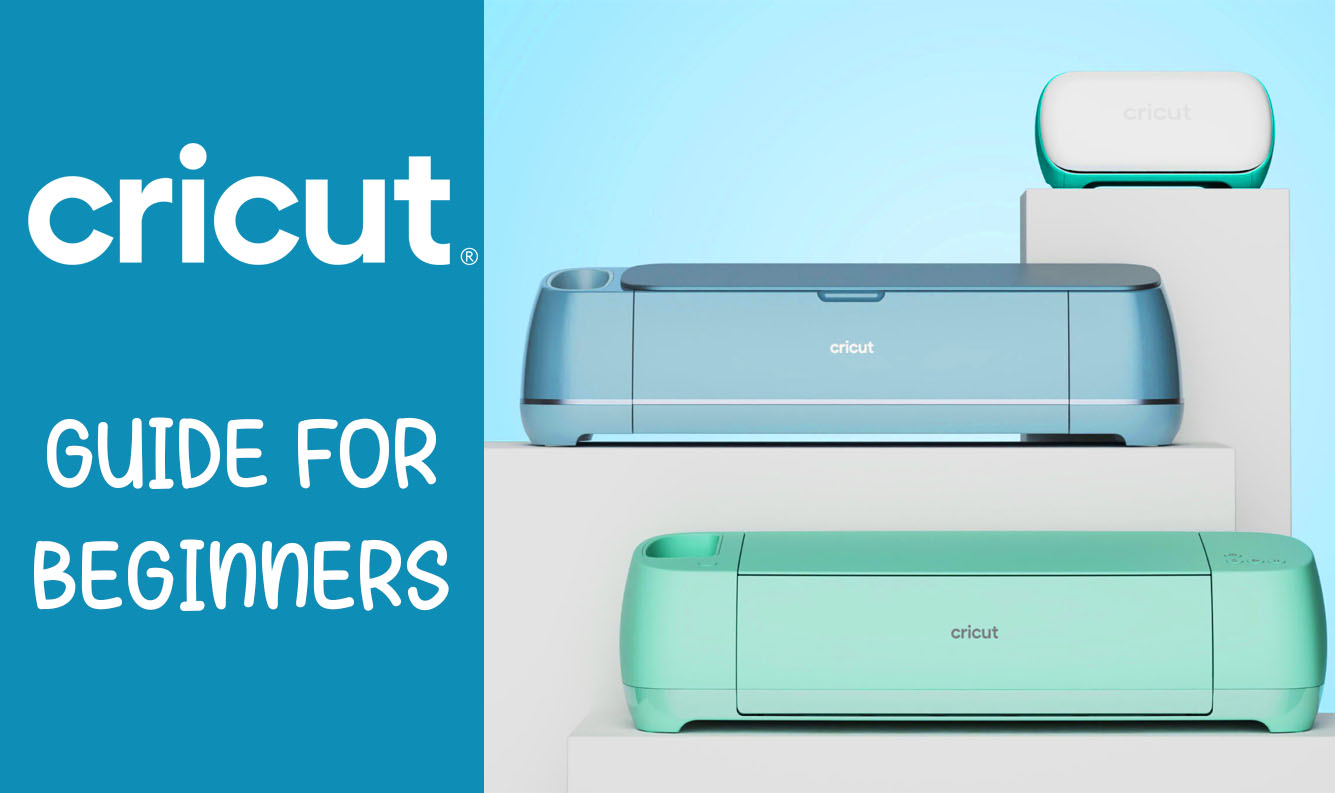
If you have a Cricut machine, you know that it can be used to cut a wide variety of materials, from cardstock and vinyl to leather and wood. Choosing the right material for your project is important, as it will affect the quality and durability of your final product. In this article, we will go over the steps for selecting and loading materials into your Cricut machine.
Step 1: Choose the Right Material
The first step in using your Cricut machine is to choose the right material for your project. Cricut offers a wide range of materials that are compatible with their machines, including cardstock, vinyl, iron-on, and more.
When selecting a material, consider the following factors:
- The type of project you are working on: Different materials are better suited for different projects. For example, cardstock is a good choice for invitations and paper crafts, while vinyl is ideal for creating signs and decals.
- The thickness of the material: Cricut machines can cut materials that are up to 2.0mm thick. Thicker materials will require more force to cut, which can cause your machine to wear out more quickly.
- The type of blade you are using: Different materials require different blades to achieve the best results. For example, you will need a deep point blade for cutting leather, and a fine point blade for cutting paper.
Step 2: Load the Material into the Machine
Once you have chosen the right material for your project, it’s time to load it into your Cricut machine. Here’s how to do it:
- Turn on your Cricut machine and make sure it is connected to your computer or mobile device.
- Place your material on the cutting mat, with the side that you want to cut facing down. The cutting mat should be placed on the machine with the arrow pointing towards the front of the machine.
- Use the rollers on the machine to secure the material in place. The rollers should be adjusted so that they are snug against the material, but not so tight that they stretch or damage it.
- If you are using a Cricut Explore or Cricut Maker machine, you will need to select the type of material you are using in the Cricut Design Space software. This will help the machine adjust the blade and pressure settings to the appropriate levels for your material.
- If you are using a Cricut Joy machine, you will need to select the type of material you are using on the machine itself. Simply press the “Material” button and choose the appropriate setting from the list.
Step 3: Cut Your Material
Once your material is loaded into the machine and you have selected the appropriate setting, you are ready to start cutting. Simply follow the prompts in the Cricut Design Space software (or on the machine itself if you are using a Cricut Joy) to begin the cutting process.
It is important to pay attention to the blade and pressure settings when cutting different materials. If the blade is not set to the proper depth, it may not cut all the way through the material. Similarly, if the pressure is not set correctly, the material may not be cut cleanly or may even tear.
Conclusion
Choosing and loading materials into your Cricut machine is an important step in any project. By selecting the right material and following the proper steps to load it into the machine, you can ensure that your projects turn out beautifully and with professional-quality results. With a little practice and the right tools, you’ll be a Cricut pro in no time!

