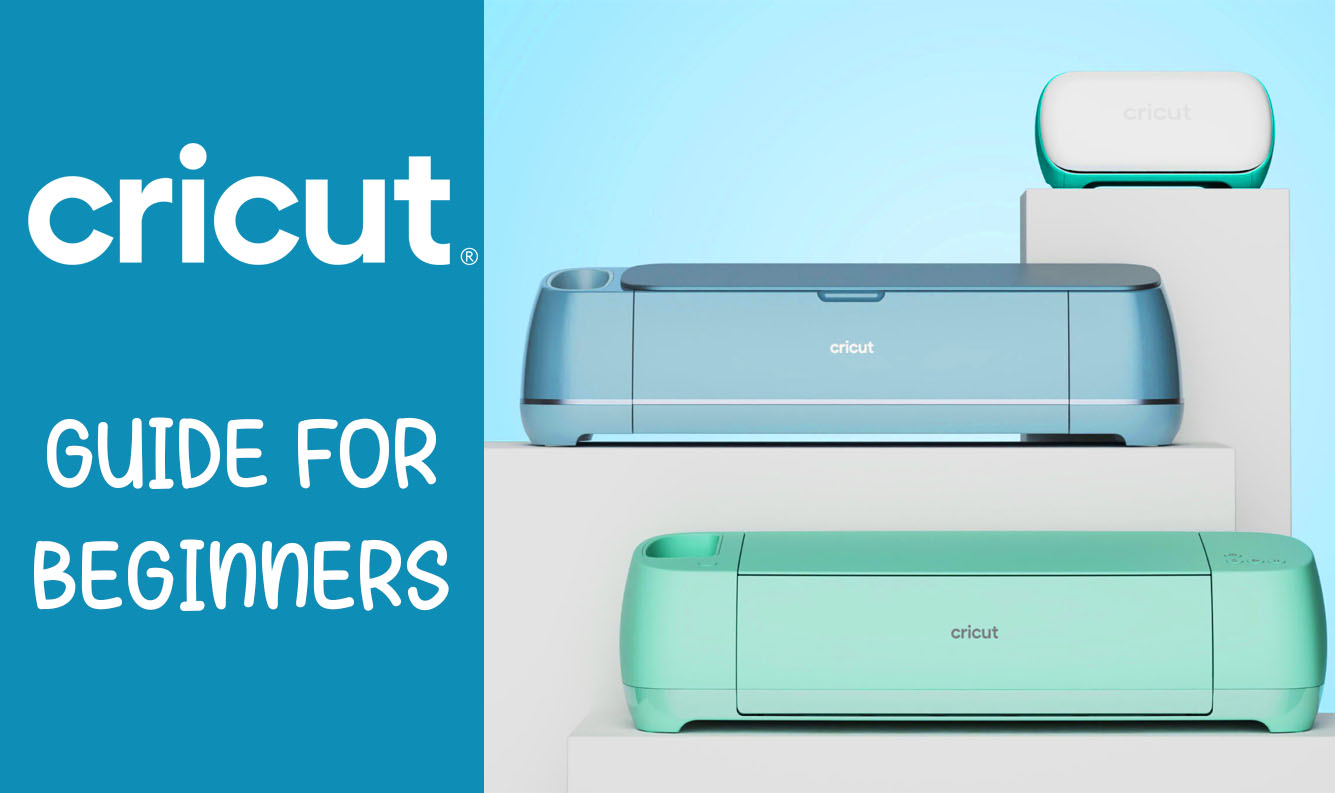
Creating and uploading designs to a Cricut machine can be a fun and rewarding process, allowing you to personalize and customize a variety of projects. Whether you’re an experienced designer or new to the Cricut world, this guide will walk you through the steps of creating and uploading designs to your Cricut machine.
Step 1: Choose a design program
The first step in creating a design for your Cricut machine is to choose a design program. Cricut Design Space is a free software that is compatible with all Cricut machines and allows you to create, edit, and upload your own designs. Alternatively, you can use other design programs such as Adobe Illustrator or CorelDRAW to create your designs, but you’ll need to save and export them as .svg or .png files to be compatible with Cricut Design Space.
Step 2: Create your design
Once you’ve chosen a design program, it’s time to start creating your design. This process will vary depending on the program you’re using and the complexity of your design, but generally, you’ll want to start by sketching out your idea and then refining it with the design tools available in your program. Some tips for creating a successful design include:
- Keep it simple: While it’s tempting to try to create a complex and detailed design, it’s often best to keep it simple when working with a Cricut machine. Complex designs can be more difficult to cut and can take longer to complete, so it’s usually best to stick to simpler designs with fewer elements.
- Use layers: Layers allow you to separate different elements of your design and make it easier to edit and fine-tune specific parts of your design. For example, you can use different layers for different colors or for different elements of your design.
- Use the grid: Most design programs have a grid system that can help you align and position your elements accurately. Use the grid to ensure that your design is evenly spaced and aligned, which will make it easier to cut and assemble.
Step 3: Save and export your design
Once you’re happy with your design, it’s time to save and export it for use with your Cricut machine. If you’re using Cricut Design Space, you can simply save your design and it will be ready to upload. If you’re using a different design program, you’ll need to save and export your design as a .svg or .png file.
To save your design as a .svg file in Illustrator, go to File > Save As and choose “SVG” from the “Format” dropdown menu. In CorelDRAW, go to File > Export and choose “SVG” from the “Save as type” dropdown menu. To save your design as a .png file in either program, simply choose “PNG” from the “Format” or “Save as type” dropdown menu instead of “SVG.”
Step 4: Upload your design to Cricut Design Space
Once you’ve saved and exported your design as a .svg or .png file, it’s time to upload it to Cricut Design Space. To do this, open Cricut Design Space and go to the “Upload” tab on the left side of the screen. Click the “Upload Image” button and select your design file from your computer.
Cricut Design Space will then process your design and convert it into a cut file that is compatible with your Cricut machine. Once the processing is complete, you’ll see a preview of your design on the canvas.
Step 5: Adjust and cut your design
Before cutting your design, you may want to make any final adjustments to the size or position of your design on the canvas. You can use the handles around the edge of your design to resize it, or use the alignment tools to reposition it.
Once you’re happy with the placement and size of your design, it’s time to cut it. Click the “Make It” button in the top right corner of the screen to proceed to the cut screen. Here, you’ll see a preview of your design and a list of materials that are compatible with your Cricut machine. Choose the material you’ll be cutting, and then click the “Continue” button.
On the next screen, you’ll be prompted to load your material onto the cutting mat and place it in the machine. Follow the on-screen instructions to do this, making sure to use the appropriate cutting mat and blade for your material. Once your material is loaded and the machine is ready, click the “Go” button to begin the cutting process.
Step 6: Assemble your project
Once your design has been cut, you can use it to create a variety of projects. Depending on your design, this may involve assembling multiple pieces, applying adhesive, or adding additional embellishments. Follow the instructions for your specific project to complete it, and enjoy the custom creation you’ve made with your Cricut machine!
Creating and uploading designs to a Cricut machine can be a fun and rewarding process, and with a little practice, you’ll be able to create a wide range of custom projects. Whether you’re an experienced designer or new to the Cricut world, these steps will help you get started and unleash your creativity.

