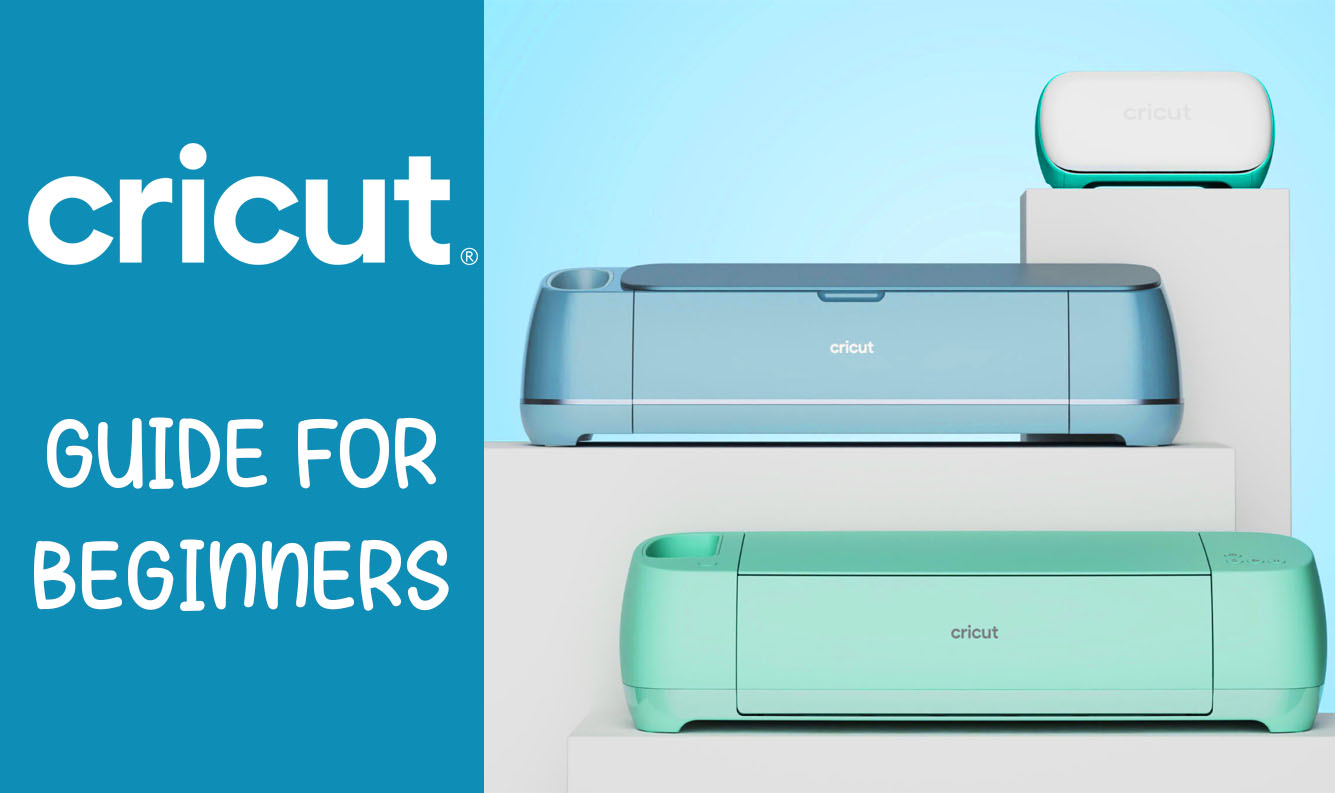
Cricut Design Space is a powerful software that allows users to design and create a wide variety of projects using their Cricut cutting machine. Whether you’re a beginner or an experienced crafter, Cricut Design Space is a valuable tool that can help you bring your creative ideas to life. In this article, we’ll take a comprehensive look at how to use the Cricut Design Space software, from signing up for an account to using the software’s various features and tools to create your own custom designs.
- Signing up for an account: Before you can use Cricut Design Space, you’ll need to create an account. You can do this by visiting the Cricut website and clicking on the “Sign In” button in the top right corner. From there, you’ll be prompted to create an account by entering your email address and creating a password. Once you’ve completed this process, you’ll be taken to the Design Space dashboard, where you can access all of the software’s features and tools.
- Navigating the Design Space dashboard: The Design Space dashboard is the main hub for all of your Cricut design work. From here, you can access the various features and tools that the software offers, including the design canvas, the media library, and the cut settings panel. The design canvas is where you’ll do most of your design work, while the media library is where you can access a wide variety of pre-designed images and templates. The cut settings panel is where you’ll set up your Cricut machine and adjust the various cutting and scoring options.
- Designing your project: To start designing your project in Cricut Design Space, click on the “New Project” button on the dashboard. This will open the design canvas, where you can start creating your project from scratch or use one of the software’s pre-designed templates as a starting point. To add an image or text to your design, click on the “Insert Images” or “Insert Text” buttons on the left side of the canvas. You can then use the various design tools, such as the shape tool, the pen tool, and the eraser tool, to customize your design to your liking.
- Cutting your project: Once you’ve designed your project, it’s time to cut it out using your Cricut machine. To do this, click on the “Make It” button on the top right of the design canvas. This will open the cut settings panel, where you can choose the material you’re using, adjust the cutting and scoring options, and set up your Cricut machine. Once you’ve finished setting up your machine, click on the “Cut” button to start the cutting process.
- Advanced features: In addition to the basic design and cutting tools, Cricut Design Space also offers a number of advanced features that can help you take your projects to the next level. These include the ability to upload your own images and designs, use the software’s advanced text and shape tools, and access a wide variety of pre-designed projects and templates.
In conclusion, Cricut Design Space is a powerful and user-friendly software that allows you to design and create a wide variety of projects using your Cricut cutting machine. Whether you’re a beginner or an experienced crafter, the software’s various features and tools make it easy to bring your creative ideas to life. By following the steps outlined in this article, you can learn how to use the Cricut Design Space software to create custom designs and projects that are truly one-of-a-kind.

