Using SVG files with a Cricut machine can open up a world of possibilities for your crafting projects. SVG (Scalable Vector Graphics) files are a type of graphic file that can be resized without losing quality, making them perfect for use with cutting machines like the Cricut. In this article, we’ll go over the steps for using SVG files with your Cricut machine.
Before we get started, it’s important to make sure you have the necessary software and equipment. You’ll need a Cricut machine, a computer with design software that can open and edit SVG files (such as Adobe Illustrator or Inkscape), and a way to connect your computer to your Cricut (such as a USB cable or Bluetooth connection).
- Prepare your SVG file
The first step in using an SVG file with your Cricut is to make sure the file is properly formatted and ready for use. If you’ve downloaded the SVG file from the internet, it’s a good idea to scan it for viruses before opening it to protect your computer.
Once the file is open, check to make sure all the elements are properly separated and grouped. In design software, you can do this by selecting the “ungroup” or “release compound path” option. This will ensure that each element in the design can be cut or written separately.
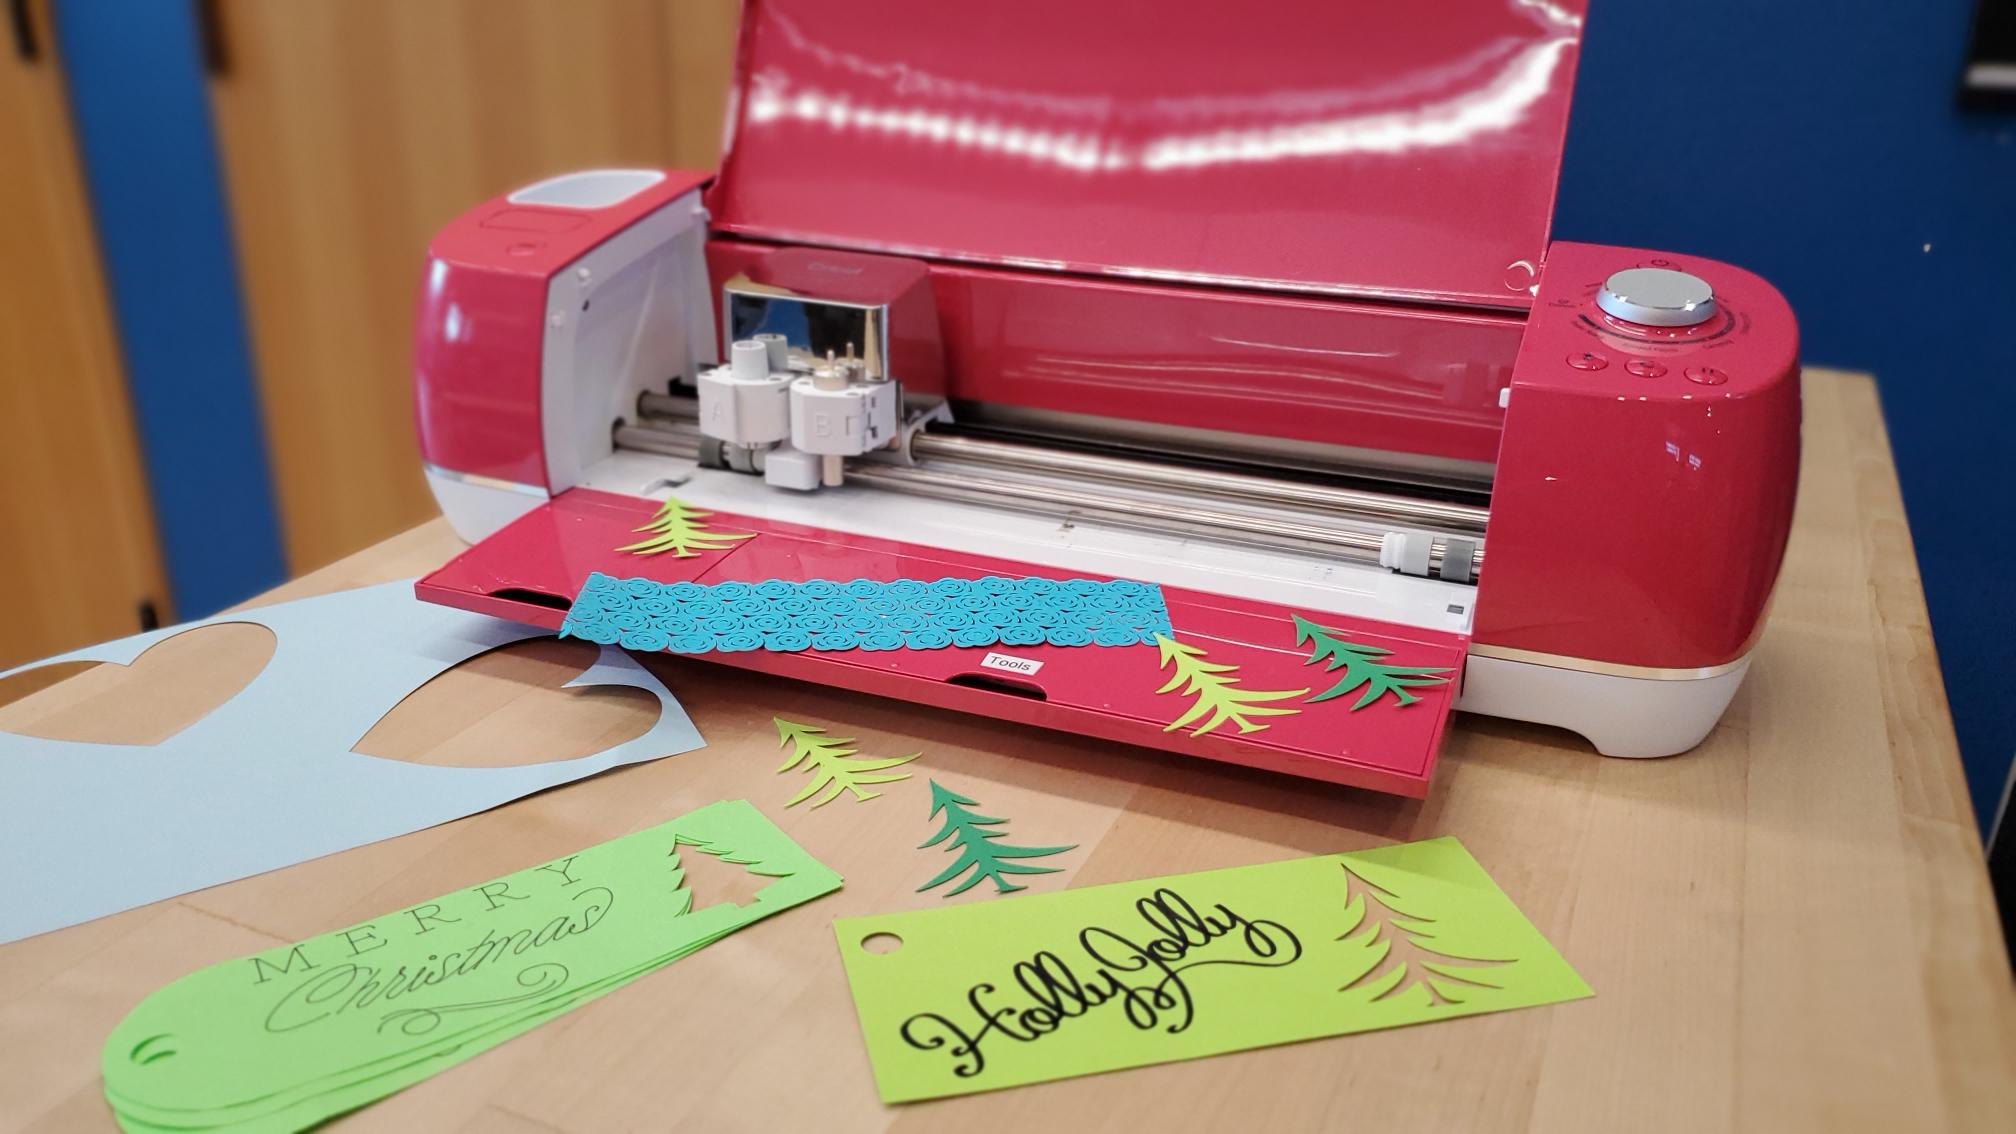
- Load your material into the Cricut machine
Next, you’ll need to load your material into the Cricut machine. This will depend on the type of material you’re using and the specific Cricut model you have, so refer to your Cricut manual for instructions on how to load and set up your machine.
- Connect your computer to the Cricut
Once your material is loaded and your Cricut is set up, you’ll need to connect your computer to the Cricut. This can usually be done through a USB cable or Bluetooth connection. Refer to your Cricut manual for specific instructions on how to connect your computer and Cricut.
- Open the SVG file in your design software
Now that your Cricut is set up and connected to your computer, it’s time to open the SVG file in your design software. If you’re using a program like Adobe Illustrator, you can simply go to the “File” menu and select “Open” to browse for the SVG file on your computer.
- Adjust the size and layout of the design
Once the SVG file is open in your design software, you can adjust the size and layout of the design as needed. You can also add additional elements or text to the design if desired. Just make sure to save your changes before moving on to the next step.
- Prepare the design for cutting
Before you can cut the design with your Cricut, you’ll need to prepare it for cutting. In your design software, this usually involves selecting the “Cut” option and setting up the appropriate cut settings for your material. Be sure to follow the specific instructions for your design software and Cricut model to ensure that the design is properly prepared for cutting.
- Send the design to the Cricut
Once the design is prepared for cutting, you’ll need to send it to the Cricut. In your design software, this usually involves selecting the “Send to Cricut” option and following the on-screen instructions. Make sure your Cricut is turned on and connected to your computer before sending the design.
- Cut the design
With the design sent to the Cricut, the final step is to start the cutting process. Depending on the size and complexity of the design, this may take a few minutes or longer. Just make sure to follow the instructions on your Cricut machine and keep an eye on the progress to ensure everything is going smoothly.
Once the cutting is complete, you can remove the material from the Cricut and enjoy your finished project!
Using SVG files with a Cricut machine can add a whole new level of creativity to your crafting projects. With a little bit of practice and patience, you’ll be able to create professional-quality designs that will impress your friends and family. Happy crafting!